

Add each person in MENU > Back Office > Employees: give them a nickname, a job title, a role, their own POS password and a colour, then save. The role decides which screens and actions their password opens.
Before you start
- The owner's POS password. Only an employee with a full-access role, such as the owner, can change anyone's role or a full-access employee's password.
- Your positions, in Back Office > Positions: they are the choices for Job Title, and hold the hourly rates for hourly staff.
- The roles you need. Every store has a full-access Administrator role. If your store is connected to your online back office, roles are kept there (your business's page, POS roles) and reach the POS by themselves; otherwise, ask EraPOS support to add the roles you want.
Steps
- Open Employees
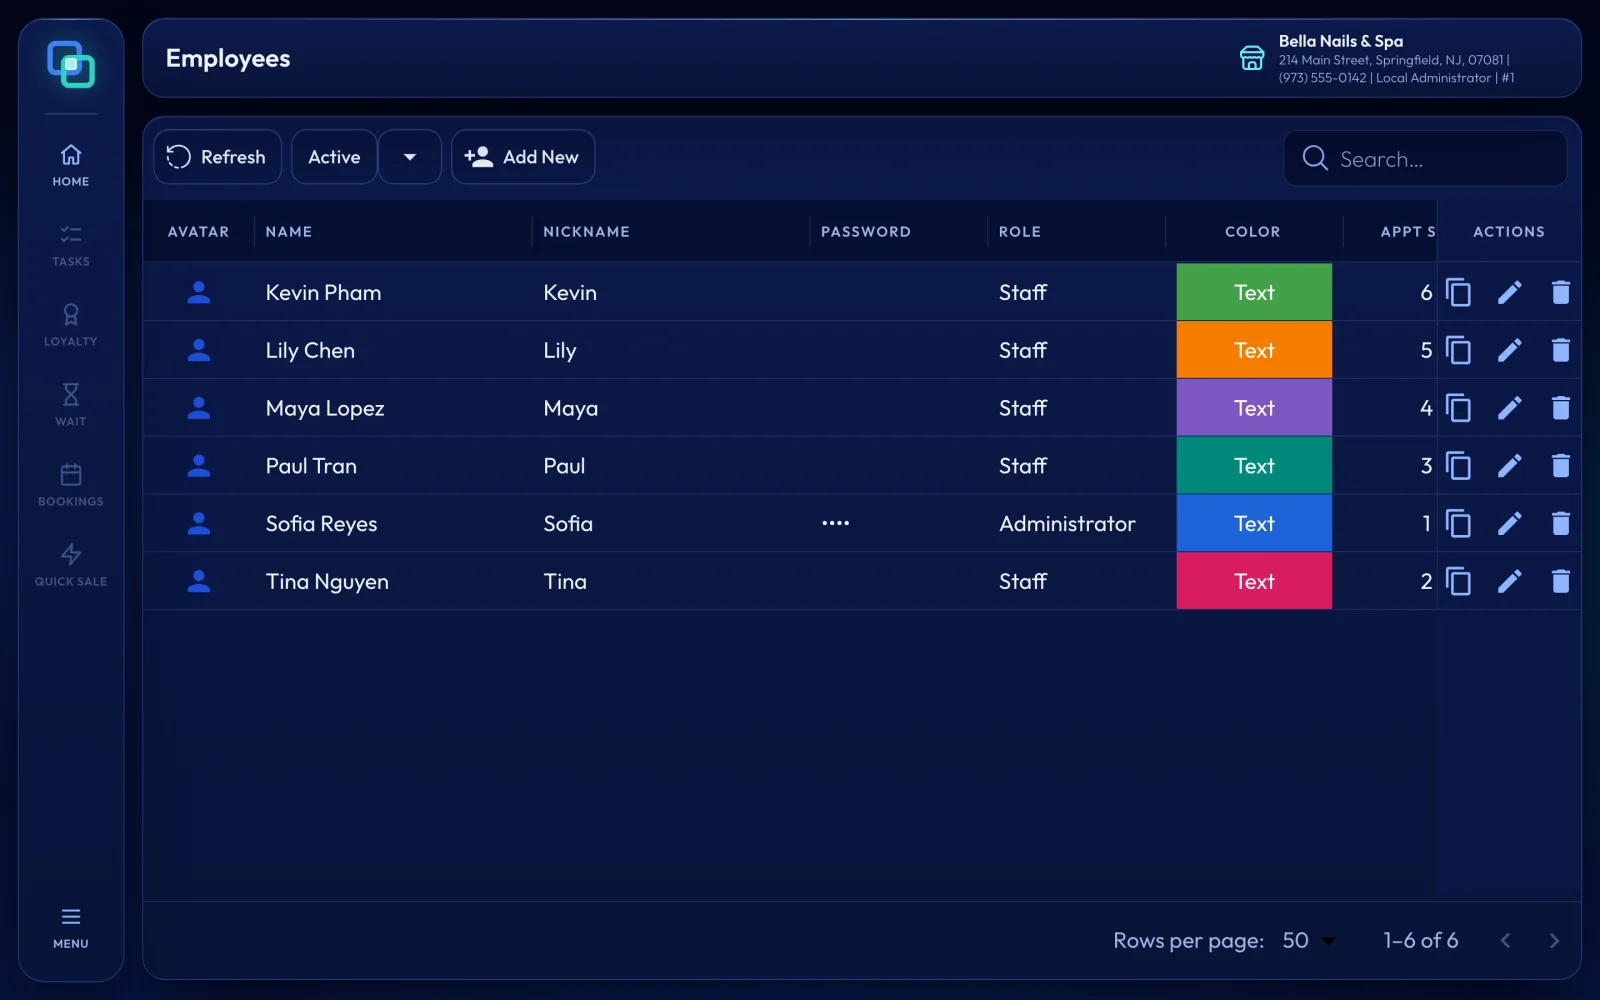
Tap MENU > Back Office > Employees and enter your password. The list shows each employee's name, nickname, role, colour and place on the book.
- Start a new employee
Press Add New. The form opens on the Basic Info tab.
- Name, job and role
Fill in First Name and Nick Name (the name the board, tickets and reports show), then choose a Job Title and a Role. Cell phone, email and hire date are optional.
- Give them a POS password
Type 4 to 12 digits in POS Password, or press Get New Password for a random one. Each employee needs their own: EraPOS refuses a password another active employee already uses. They use it to clock in and to open what their role allows. To change it later, type a new one in New POS Password; leaving it blank keeps the current one.
- Colour and order
Tap the round colour swatch to pick their colour, and set Fore Color to White or Black for the text on it. Their tile on the Service Board uses this colour. Appt Book Order sets where their column sits on BOOKINGS (lowest number first).
- Schedule
In Schedule, switch on their working days and set the start and end times, or press Same as Business Hours. Employees can only clock in on scheduled days, unless Unscheduled, yet clocked in today is on. Break Time adds their usual breaks to the book.
- Pay, services and access
Set their pay on Compensation Info (see Run payroll) and the services they perform on Service/Product. On Advanced, under Assign to, turn on Queue for the turn list, Appointment Book for a column on the book and Online Appointment for online booking. On Mobile Access, turn on EraPOS Hub (Tech) or EraPOS Hub (Owner) for the phone app.
- Save
Press Save. EraPOS confirms that the item has been saved and returns to the list.
Result
The new employee can clock in with their password, appears on the turn list and the book as you chose, and opens only the screens their role allows. A password without the right permission gets Technician not found or not have permission. After five wrong passwords in a minute, that register waits five minutes before trying again. An unlocked screen stays open until the employee leaves it, so going back to HOME locks it again.