

Your menu lives in Back Office. Categories group what you sell, and each service or product in them has its price, its time, its turn value and the technicians who do it. Create the categories first, then the services and products, then arrange how they appear on the ticket screen.
Before you start
- Your POS password, with a role that can open the menu screens (the owner's can).
- At least one department for services and one for products, under MENU > Back Office > Departments: tap Add New, then enter a Department Name and choose the Department Type. Every service and product belongs to a department.
- Your price list, with how long each service takes.
Steps
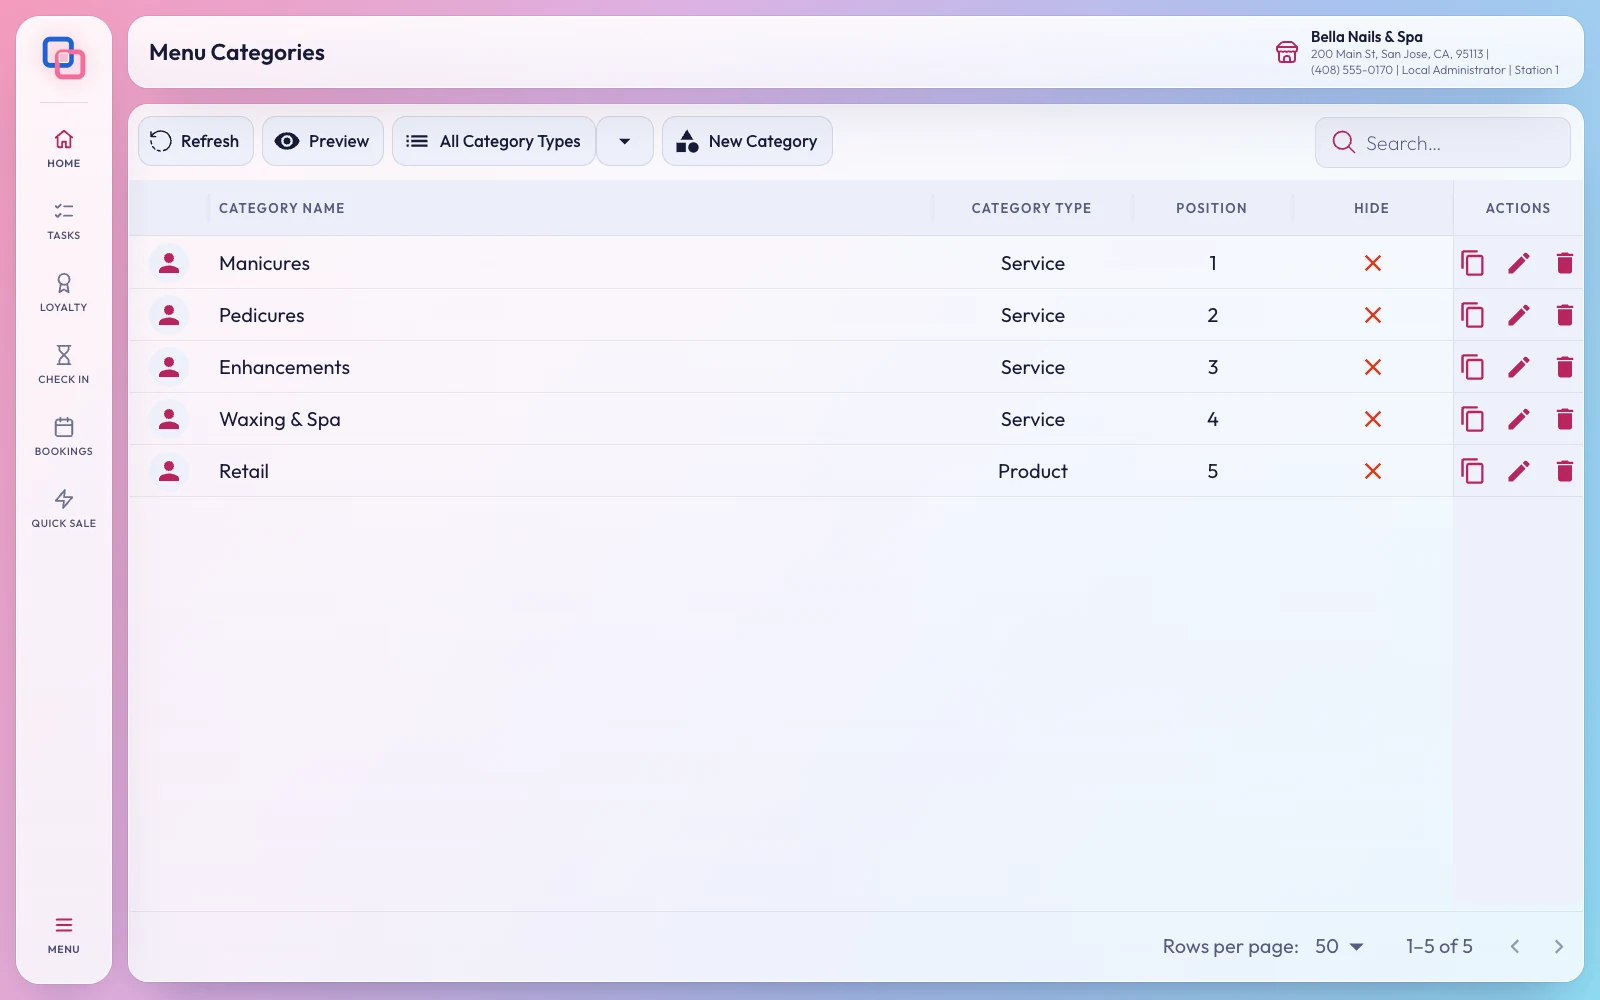
- Open Menu Categories
Tap MENU on the side rail, then Back Office > Menu Categories. Type your password when EraPOS asks for it.
- Add a category
Tap New Category. Enter the Category Name and the Check In Name that customers see on the check-in tablet, choose Service or Product under Types, and set the POS Menu Position (its place on the ticket screen) and the Check-In Menu Position. Turn on Add to CheckIn to offer a service category on the tablet, or Hide On POS to keep it off the registers. Tap Save.
- Add a service
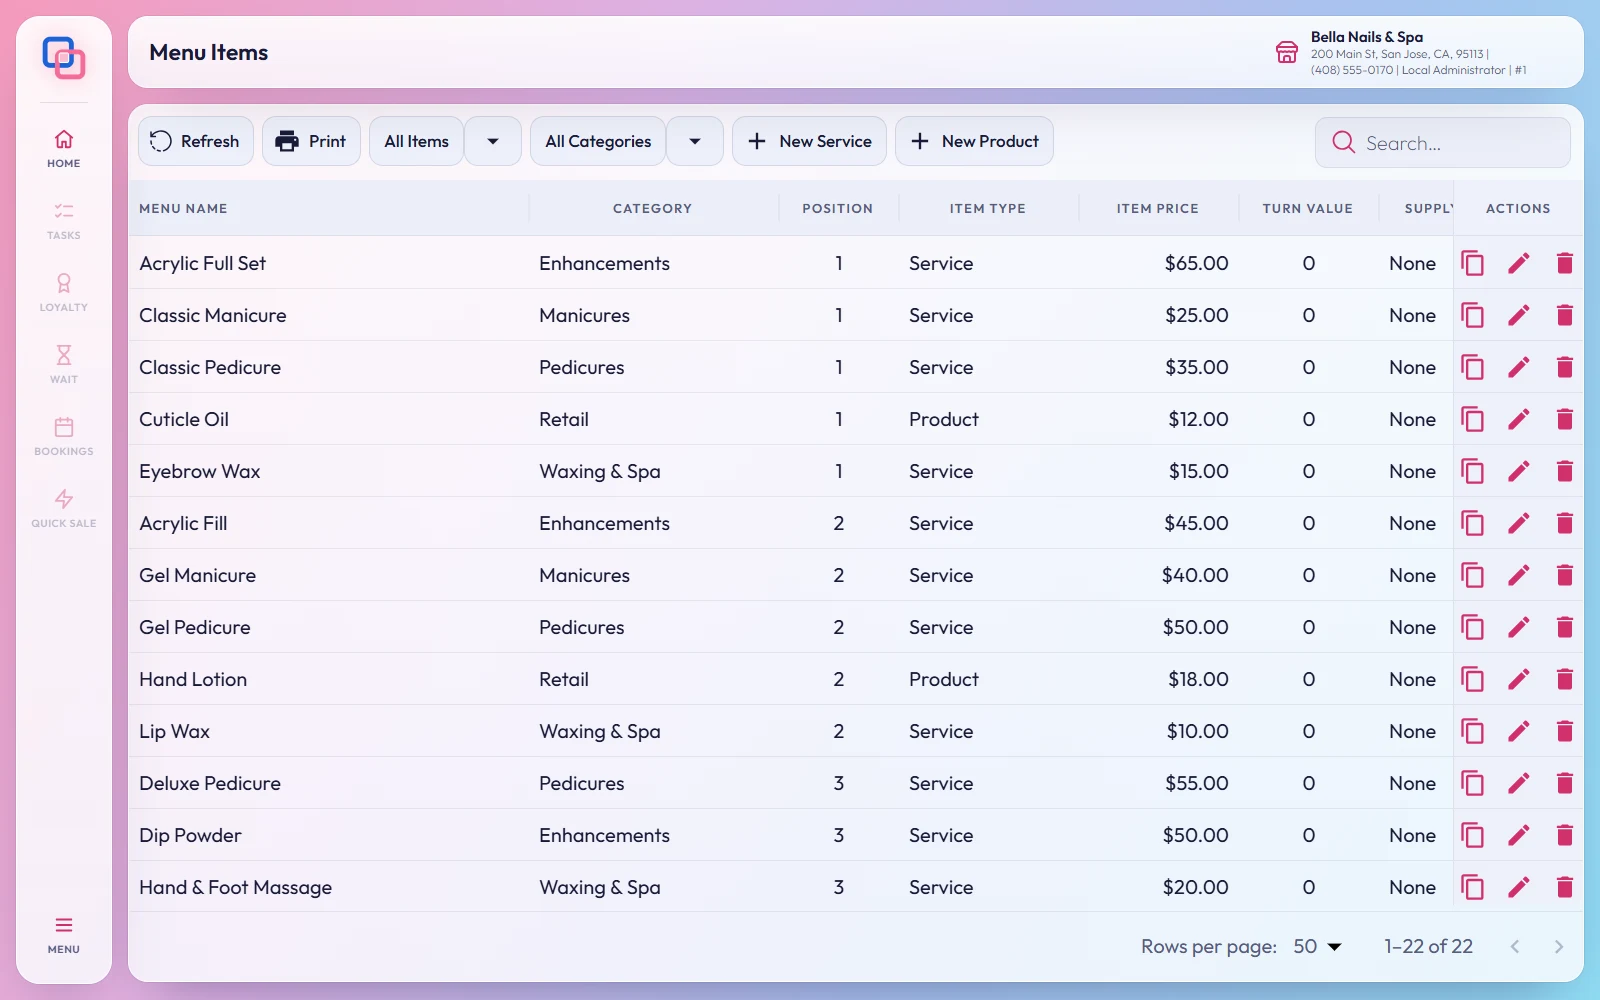
Open Back Office > Menu Items and tap New Service. On Item Information, fill in the Item Name, the Online Appt Book Item Name that clients see when they book online, the Department and the Category. Choose Single or Combo under Menu Type, then enter the Price, the Service Duration in minutes, any supply fee (Item Supply Fee Type and Item Supply Fee Value) and the Turn Value, which is how much the service counts in the turn queue. With Price Option set to Custom, the price is typed on the ticket each time.
- Choose who does it
On the Employees tab, every technician is chosen for a new service. Remove anyone who does not offer it. For a combo, add its services on Package Items with Add Service.
- Check the extras and save
The Advance tab has switches such as Taxable, Item Discount, Ticket Discount, Loyalty Points, Commission, Item Tip, Online Appt and Do Not Count Turn. Tap Save. If you change the price of an existing service, EraPOS asks whether to use the new price on appointments already booked: Yes, update or No, keep old price.
- Add products
Tap New Product for retail items, gift cards, prepaid packages and memberships. Enter the Name, Department, a product Category, the Menu Type, the Regular Price and the Unit Cost, then tap Save.
- Arrange the ticket screen
In Menu Categories, tap Preview to see the menu as the registers show it. Turn on Rearrange, then tap one button and then another to swap them; categories can also be dragged. Turn on Edit to pick a Back Color and Fore Color and tap the buttons to colour them, or use Apply All. Tap Save.
Result
Your categories and services appear on the ticket screen in the order you chose, with their prices and times, and the other registers on your store network pick up the changes on their own. To check the whole menu on paper, tap Print on Menu Items. If you would rather not do this yourself, EraPOS support can set up your menu before your first day.