
Add the tablet in your online back office to get its activation code, then install the EraPOS Check-in app on an Android tablet, connect it to your store server and enter the code. From then on, clients check themselves in at the door and appear on your waiting list.
Before you start
- An Android tablet (Android 7 or newer) used only for check-in, on your store's network.
- The EraPOS Check-in app on the tablet. If you do not have it yet, ask EraPOS support.
- Your store server PC switched on, and your store connected to your EraPOS account online (see Connect your store to EraPOS Control and your back office).
- The store server's network address as its network settings show it, for example 192.168.1.20. Whoever set up your registers, or EraPOS support, can give it to you.
- Optional: a USB receipt printer plugged into the tablet, for check-in slips.
Steps
- Choose the services clients can pick
On the POS, open MENU > Back Office > Menu Categories. Edit each service category clients should see, turn on Add to CheckIn, and set its Check In Name and Check-In Menu Position. To keep a single service off the tablet, turn on Hide On CheckIn on that menu item.
- Add the tablet online
In your online back office, open your store's page, find Customer check-in and choose Set up. On the Tablets tab, type a name such as "Front door tablet", add a station number if you want one, and choose Add tablet. Its activation code appears in the list.
- Decide what the screens ask and show
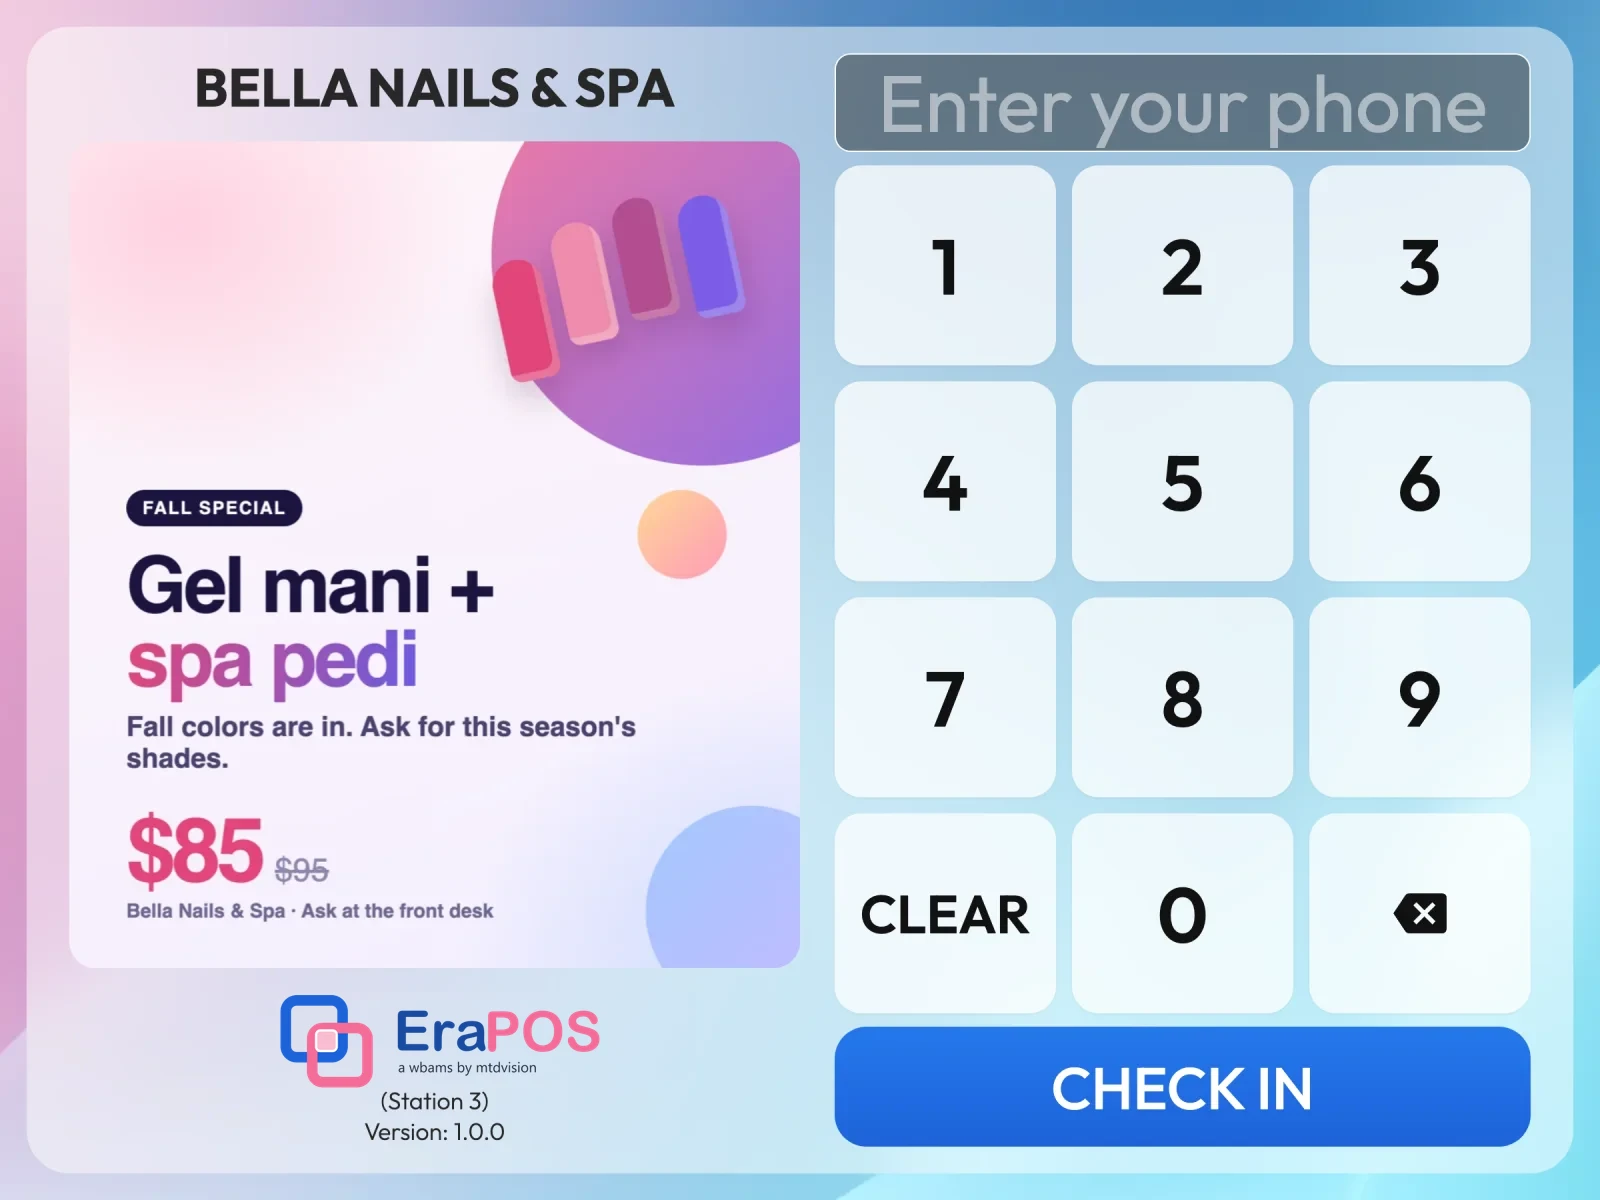
On the Screens tab, choose whether new clients give their name, birthday and email, whether clients choose services and a technician, whether they confirm today's appointment, whether their points balance shows, your business policy, the pictures beside the keypad and the check-in slip. Choose Save. The Waivers and Wheel of Fortune tabs are optional. Tablets pick up changes within a minute.
- Connect the tablet to the store server
Open EraPOS Check-in on the tablet. Type the address under Store server address and tap Connect.
- Trust your store server
The app asks Trust this store server? and shows the server's security fingerprint. Tap Trust only if this is your store's server. From then on the tablet accepts that server only.
- Activate the tablet
Type the tablet's code in Activation Code and tap ACTIVATE. The first tablet to use a code keeps it, and the welcome screen opens.
- Put it at the door
The app runs full screen, hides the tablet's system bars and ignores Back, so clients stay on check-in. On a tablet set up for kiosk use by your device management, it also pins itself to the screen. To reach the server settings again, tap seven times quickly at the middle of the top edge.
Result
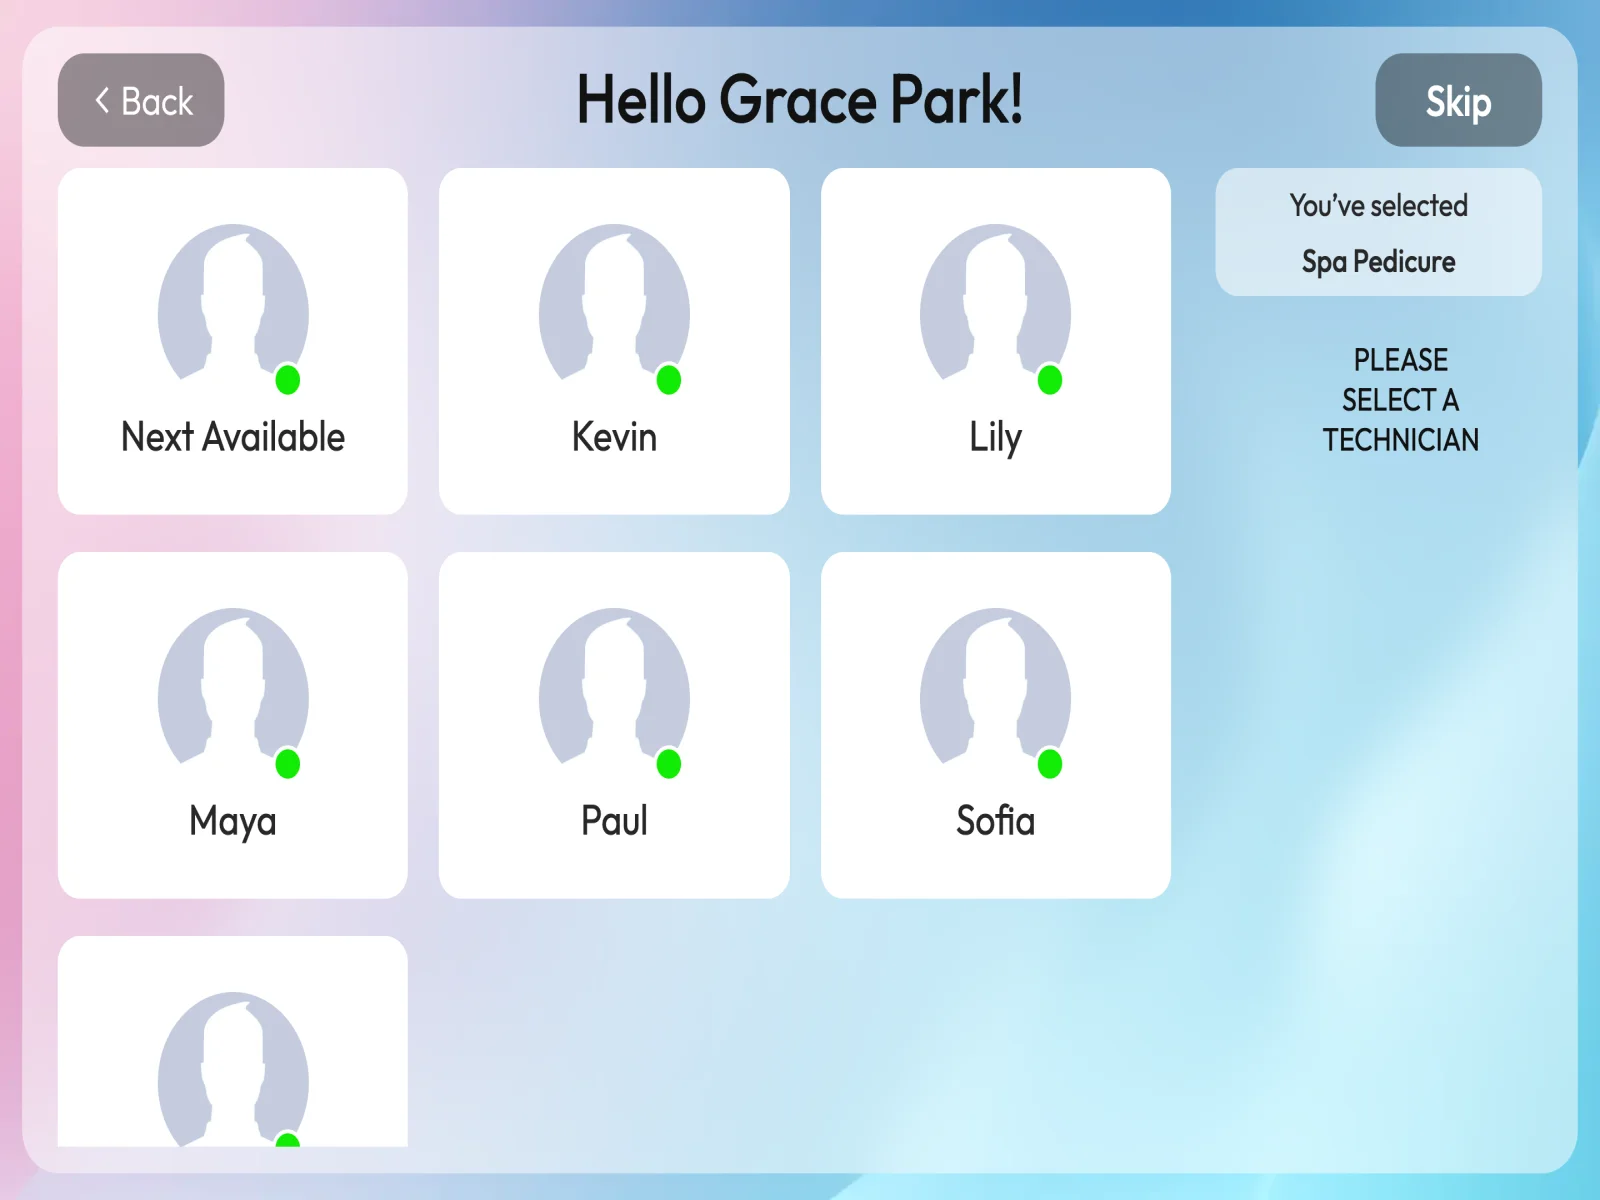
Clients type their phone number and tap Check In. A returning client is recognised and a new one signs up. They choose services and, if you allow it, a technician clocked in today or Next Available, then see their number and a welcome. The arrival appears on your The waiting list straight away, numbered by the tablet's station (3-1, 3-2 and so on), or K-1, K-2 when the tablet has no station number. To replace a tablet, use Move to another tablet or New code on its row online. After the day's close-out, the tablet asks clients to speak with the front desk.